How to Repair Damaged Veneer on a Table Top
Happy St. Patrick's Day friends!
If you've ever passed-up an amazing piece of furniture due to peeling or chipped veneer – this post is for you! I'm living proof that these types of repairs aren't that difficult!
It's a common problem with older furniture. Vintage pieces get exposed to heat, humidity, or the very worst – water. The glue holding the veneer starts to release and this results in chips, blisters or peeling.
Here's an example on this antique dresser I recently picked up. Her age is visible in the dry cracked surface and the veneer is peeling and chipping in few areas.
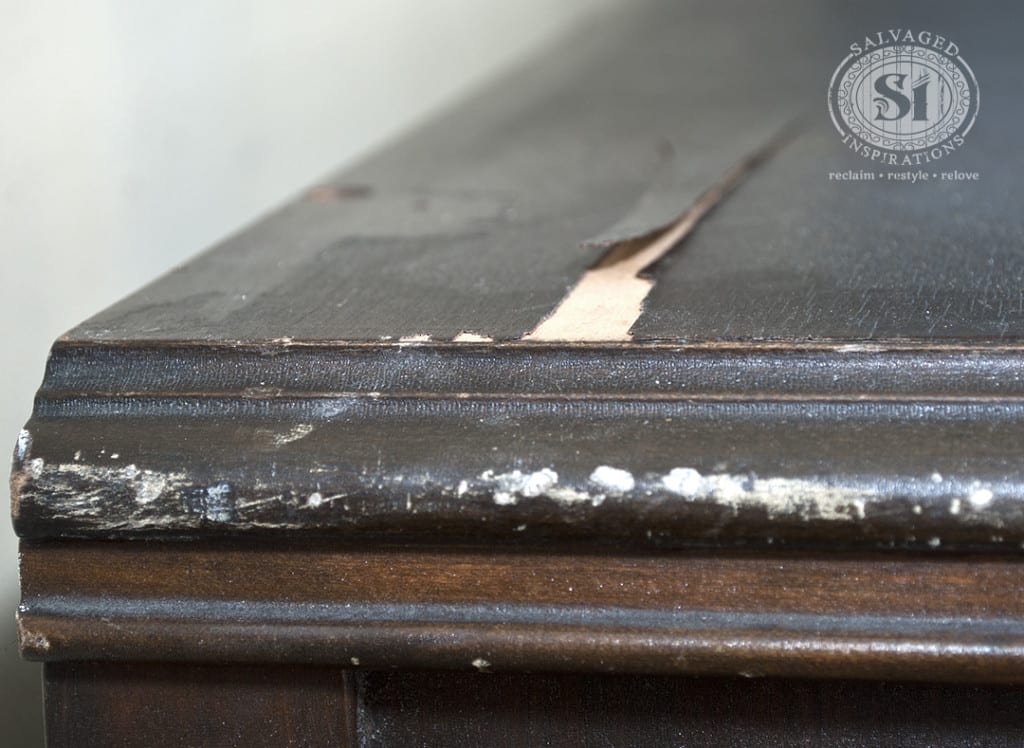
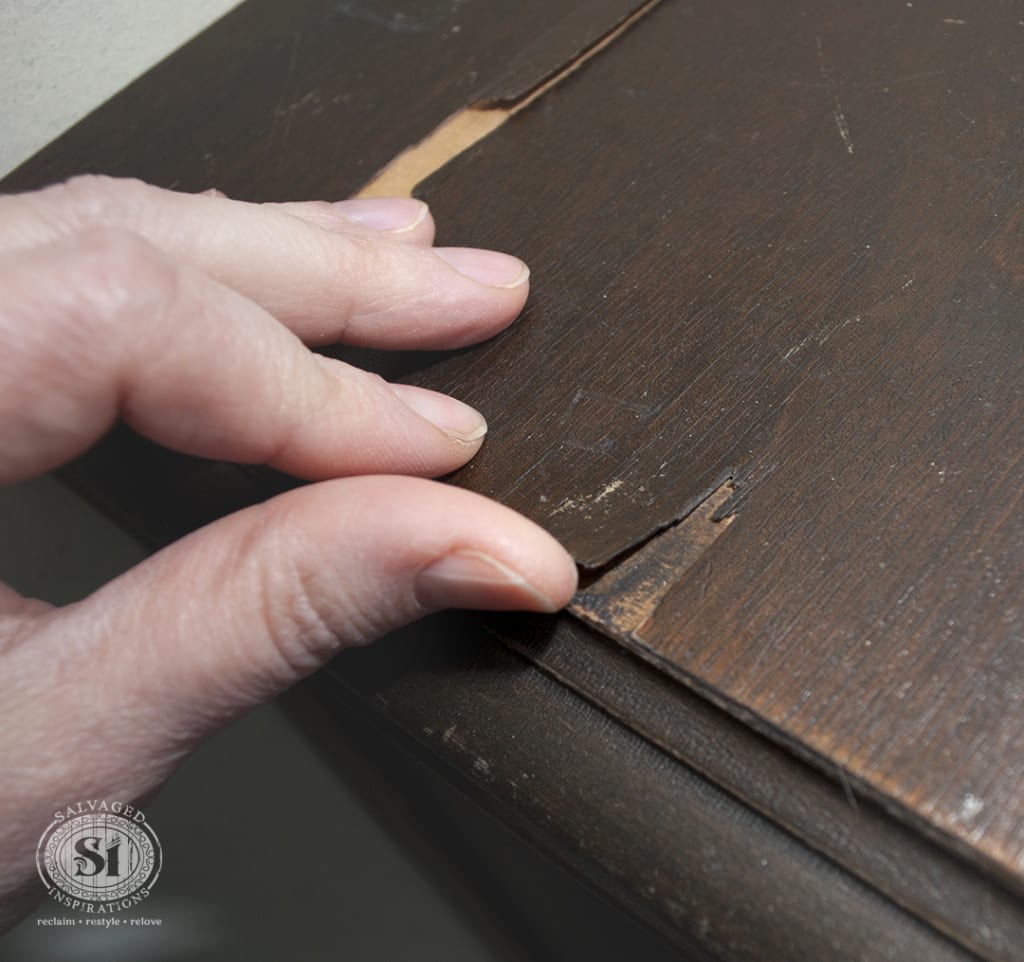
How To Fix Peeling Veneer:
With a piece like this, I would normally cut it off and fill it in, but I want to show you how easy it is to glue veneer down. A glue repair works best if you have a piece of veneer that's an exact fit and matches up with the existing grain.
If it's not a match – don't glue!
If you do, it will be impossible to stain – well – super difficult. And even if you decide to paint, often the difference in grain makes for a blotchy looking paint job.
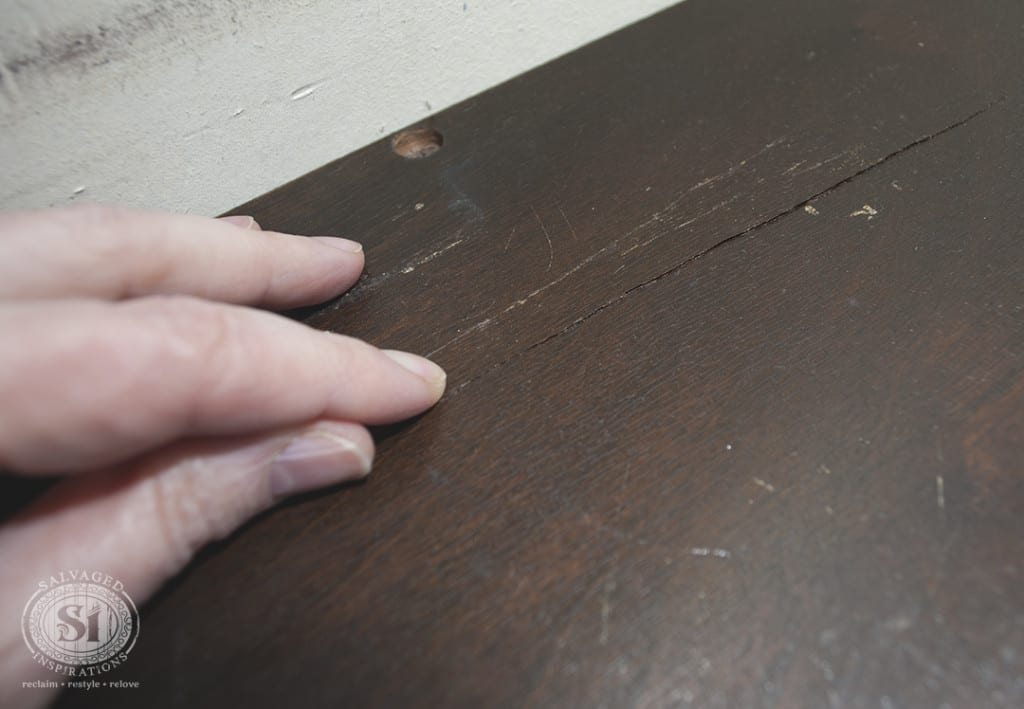
How To Glue Peeling Veneer:
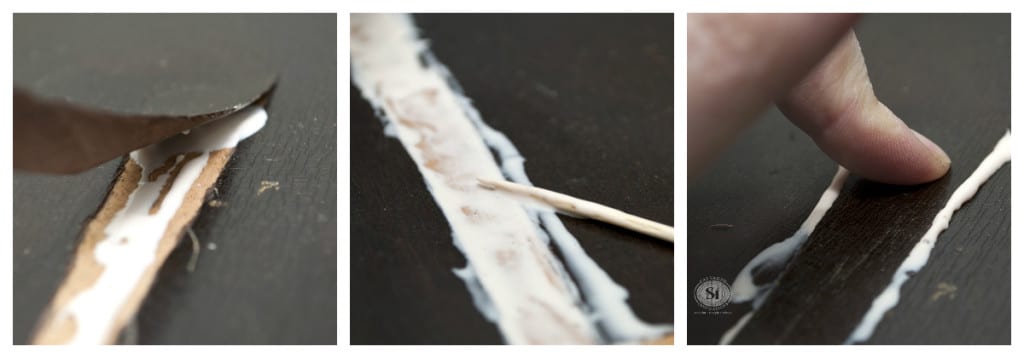
Use a good wood glue. Elmer's, Titebond or Gorilla Wood Glue are popular brands. Here I used a Lee Valley Cabinetry Glue. When I want a short dry time, Contact Cement works nicely too. Just be aware when using Contact Cement, there's no flexibility. Getting the pieces to join perfectly first time around is important because that stuff won't let go!
Be generous with the glue. I'm generous with the glue and I use a small toothpick so I can spread it right into all the nooks and crannies of the repair. Then I press down with my fingers. Wipe the excess glue away, and then clamp or weight down until the glue is totally dry.
How To Fix Chipped Veneer:
When I see chipping veneer, it usually means there's more where that came from. I give my pieces a really good once over and make sure I remove it all. The very worst thing is to miss these loose pieces – paint – and THEN have the veneer chip off leaving a big scar on your finished piece!
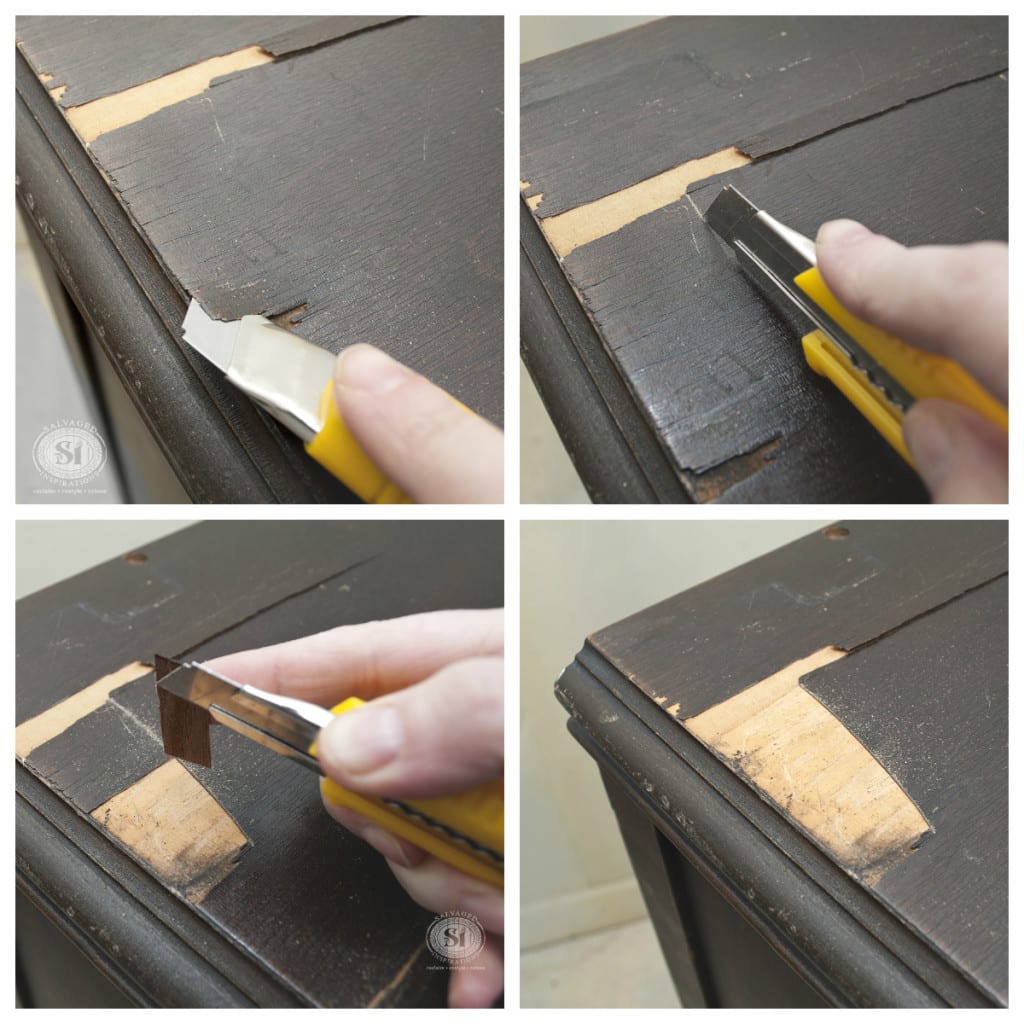
Anything that can be pulled up with a razor or sharp utility knife is best cut away. I score the veneer well above the damage where the glue is still holding. Then flake off the old chipping area.
Once all the damaged veneer is removed, I like to use this Bondo for the repairs.
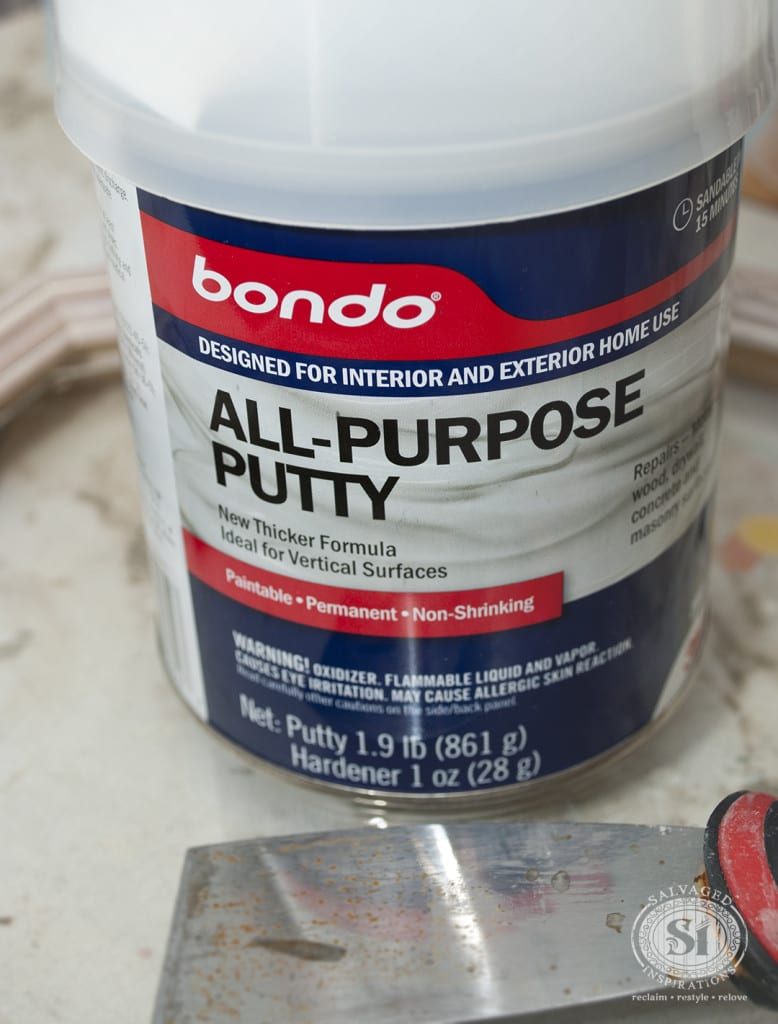
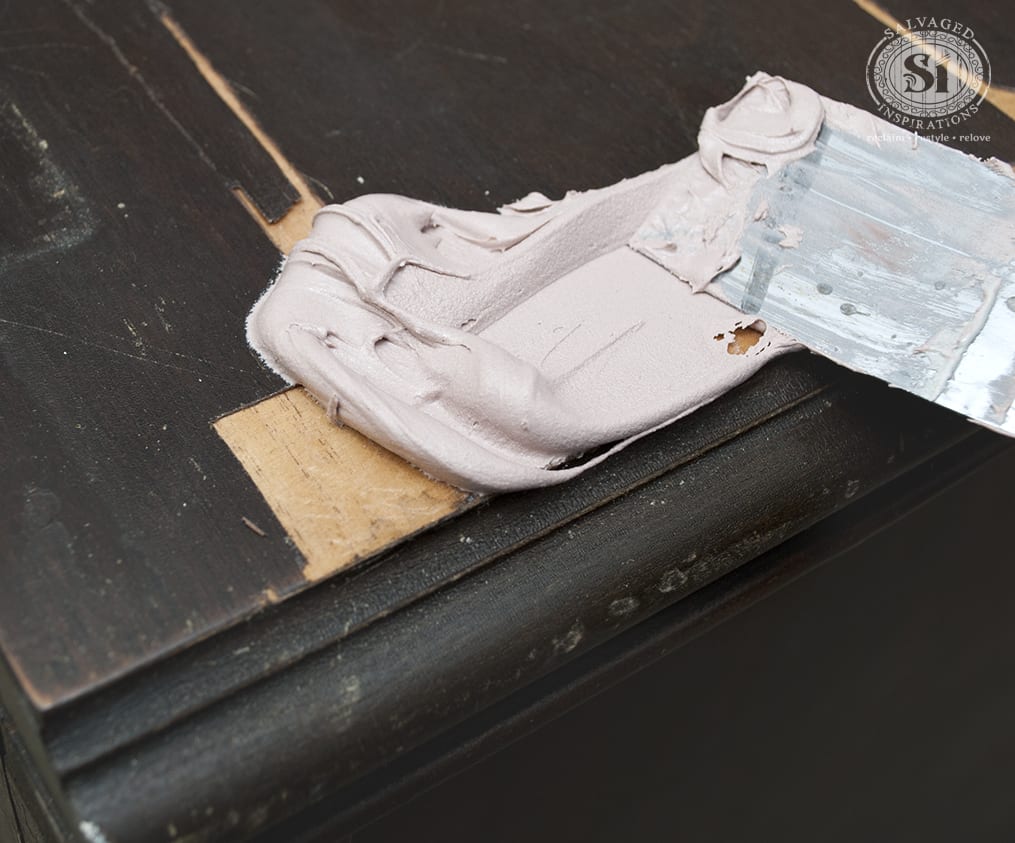
Bondo doesn't shrink like wood filler can. It also dries faster than wood filler does. However, it's not the easiest to sand and it's smelly. I've written another Bondo repair tutorial so you can find How To Mix & Apply Bondo here.
Sanding is the last step. To get a professional finish, I sand to a super smooth finish and make sure I feel no lumps or bumps when I run my hand over the surface.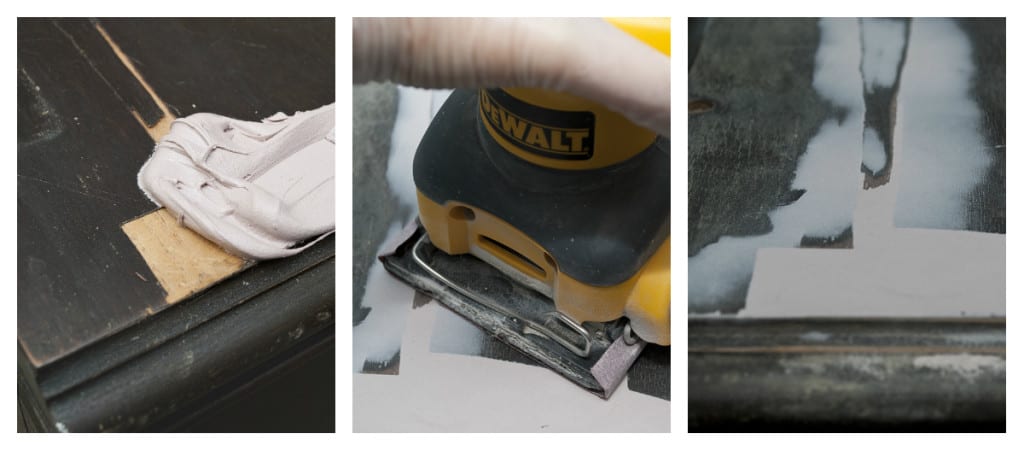 Here the dresser is all patched prior to sanding the Bondo repairs. I'm using Dixie Belle Chalky Paint (first time) so no priming or sanding is needed for the rest of the dresser!
I'll be back on Monday to show you how everything turned out. She's looking REALLY good!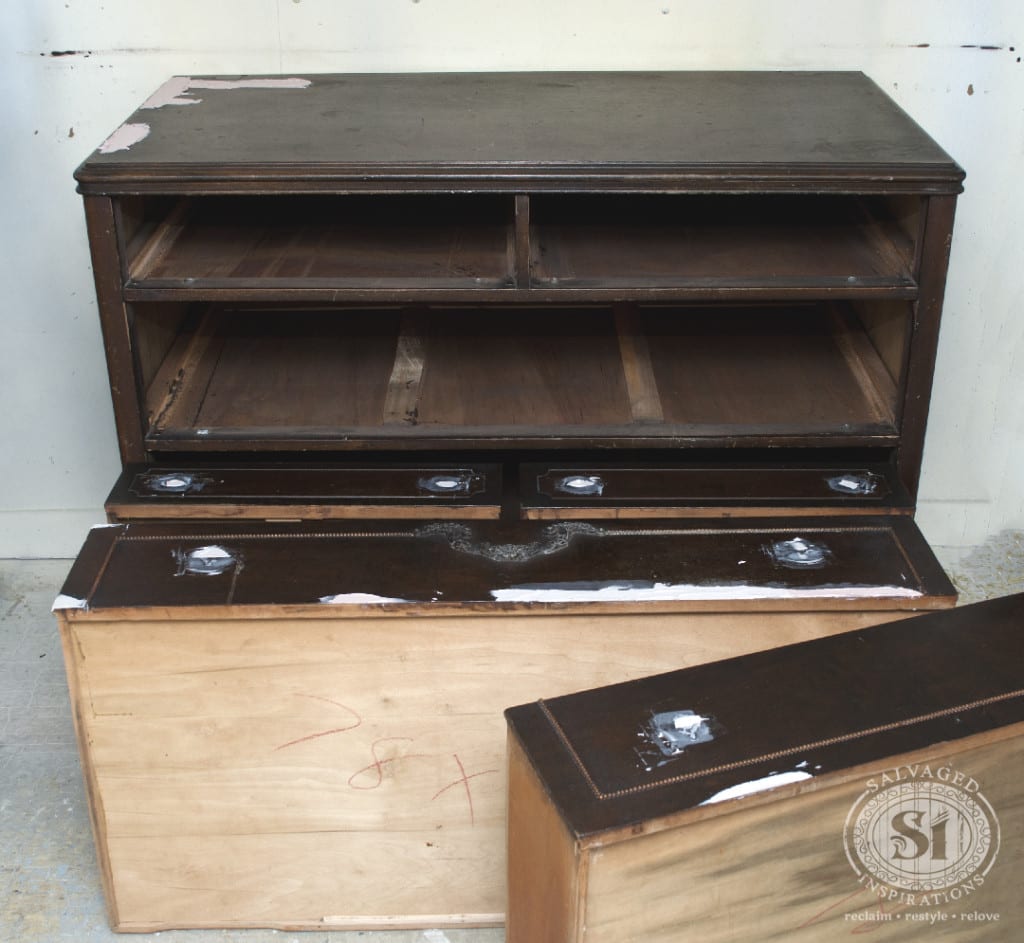
Have you ever turned down a piece because it had veneer damage? Do you have a favorite method of repairing damaged veneer? Are you heading out for some green beer? 😉
Have a great day!
Denise x
Reader Interactions
How to Repair Damaged Veneer on a Table Top
Source: https://salvagedinspirations.com/how-to-fix-peeling-or-chipped-veneer/
0 Response to "How to Repair Damaged Veneer on a Table Top"
Post a Comment